
Before any schedule can be generated the instructors need to enter information about what classes they want and any preferences that the administrator should know before creating a schedule. A sample of this action is shown in Section 2.2.
This section of the guide will demonstrate how a basic schedule is created from scratch. Once the program is opened, the administrator selects 'New From Scratch' (Figure 2.3.1).

Figure 2.3.1: Create New Schedule From scratch
After selecting to create a new schedule from scratch, a dialog box will appear asking for quarter, year, and revision number of the schedule (Figure 2.3.2). The name of the file is created using this information. If you enter a year, quarter, and revision number that is already in use then an error window will appear as in Figure 2.3.3.
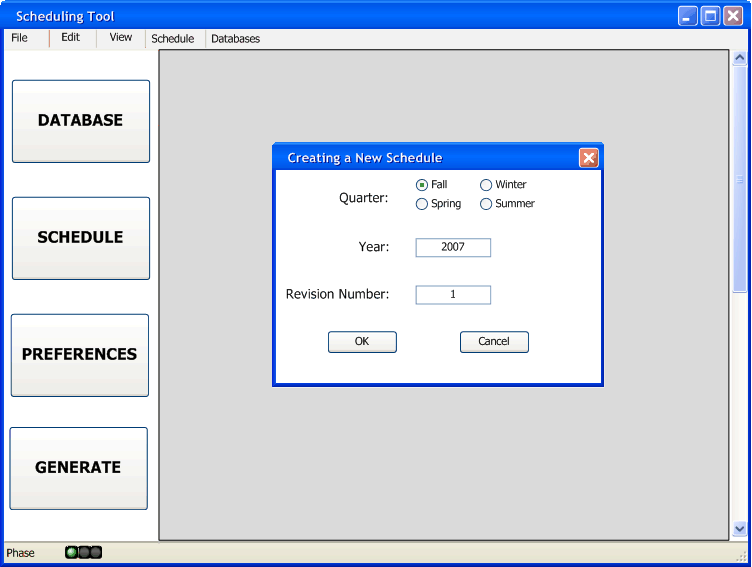
Figure 2.3.2: Naming a Schedule
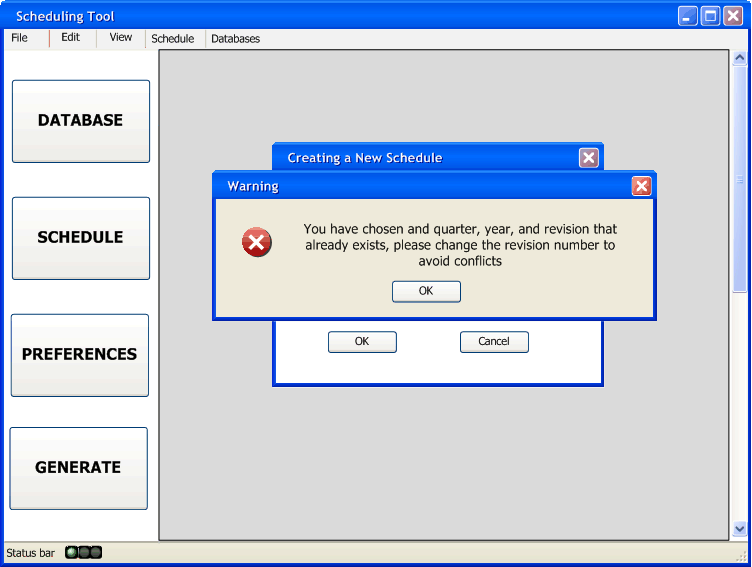
Figure 2.3.3: Name in use
This will create a temporary copy of the permanent databases and store them with the schedule. From this step the administrator needs to select which teachers to include in the schedule. The administrator then clicks on the databases button and is greeted with the main databases screen (Figure 2.3.2).
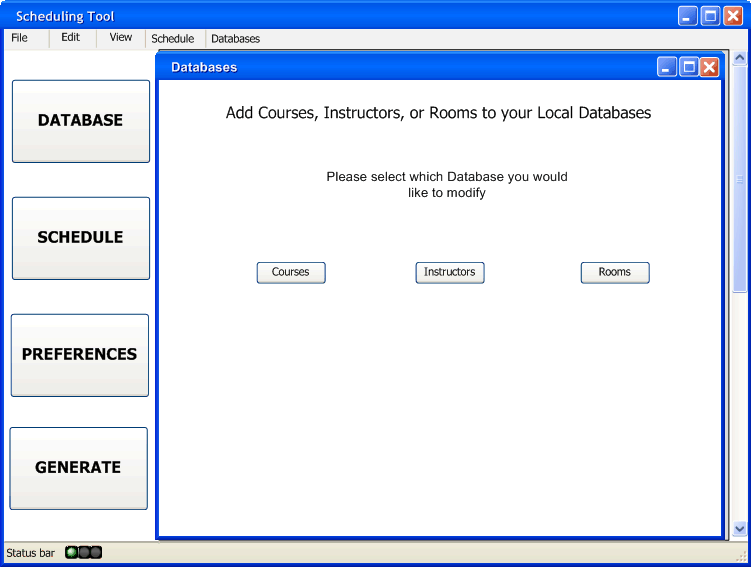
Figure 2.3.2: Home Databases Screen
From here, the administrator can go into the instructor section of the database and select which instructors will be included for the term that is being created (Figure 2.3.3).
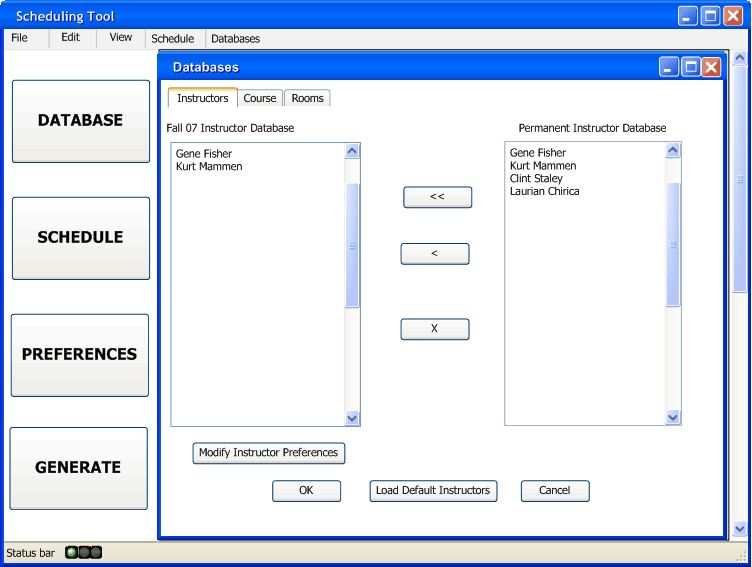
Figure 2.3.3: Adding Instructor to Database
When the administrator is adding courses to the schedule they will need to specify how many sections of the course they would like to add (Figure 2.3.4). This characteristic is completely modifiable later on if the administrator deems more or less sections should be available. The administrator can also highlight multiple courses to add and the sections will apply to all highlighted courses.
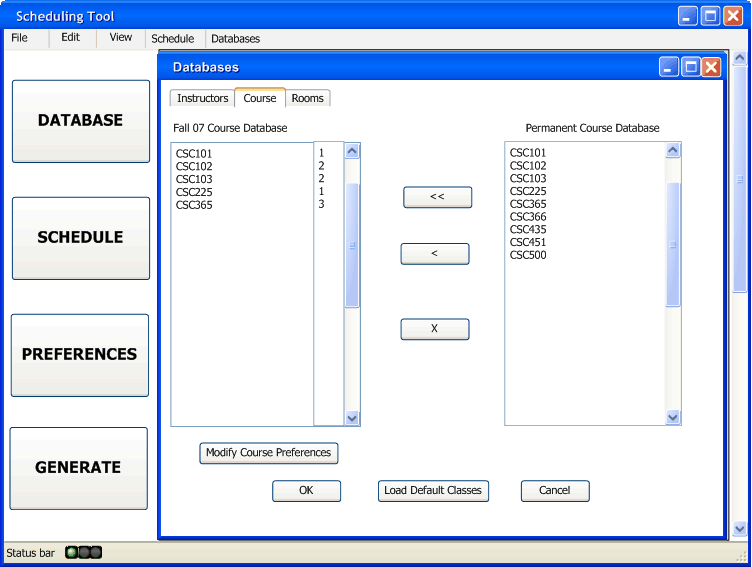
Figure 2.3.4: Adding Course to Database
The administrator will also need to do the same for the rooms section, choosing which rooms should be used to the particular quarter. Once this has been done, the administrator will click the generate button and be prompted with this screen (Figure 2.3.5).
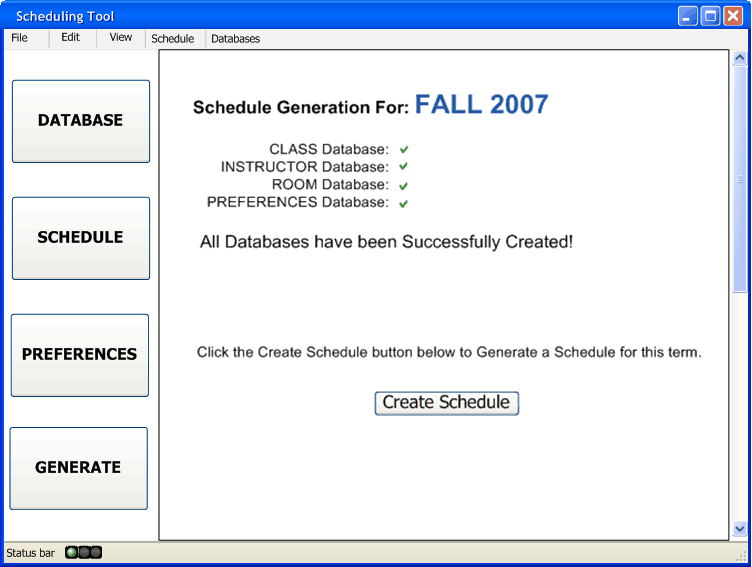
Figure 2.3.5: Generate Schedule Screen
After a few moments the program will return back a schedule based on the specified preferences and information in each of the databases (Figure 2.3.6).
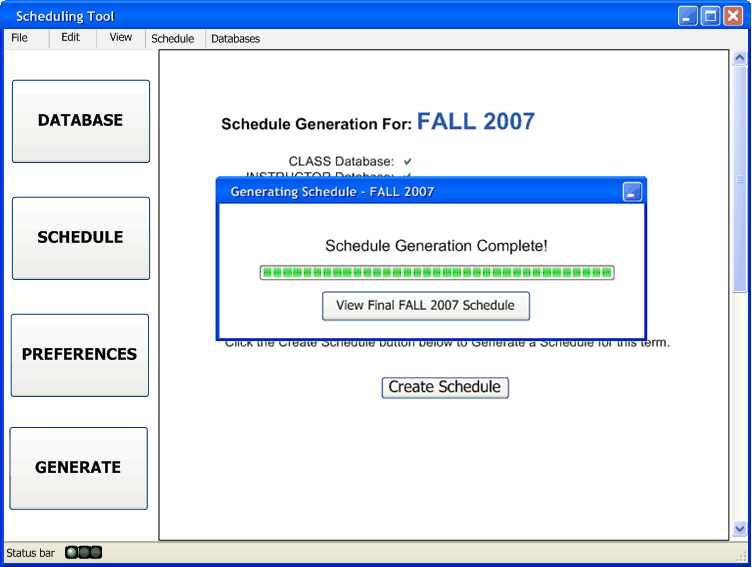
Figure 2.3.6: Generate Schedule Screen Complete
The administrator will then click on the 'Schedule' button and have the numerous options to view the screen. The administrator can choose schedule views based on teachers, rooms, classes, etc. The view based on classes is seen in Figure 2.3.7.
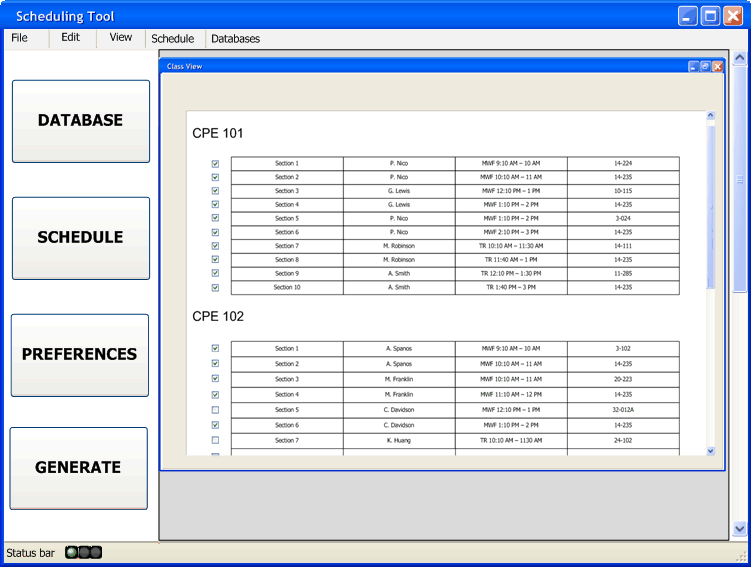
Figure 2.3.7: View of Schedule via classes