FIGURE 2.4.2.1: empty course database
The course database contains information about courses to be offered by the department. The scheduler uses data from this database to decide the instructor, time, and room pairings for a particular section of a course. It also contains information that is useful for an administrator searching through the database to find information about a course. This scenario depicts an administrator adding items to an empty course database, including courses with and without a lab pairing.
When the administrator accesses the Database menu using the large Databases button on the left side of the screen, the screen in FIGURE: 2.4.0.1 (Section 2.4) appears in the work space. To access the Course database the user must click the Course tab at the top of the screen Alternatively, the user can select Courses, under Databases, in the top-level menu bar. If the course database has not been populated yet, then the screen in FIGURE: 2.4.2.1 appears.
As with the instructor database, the left side of the screen displays a list of items that exist in the database sorted numerically by course number. On the right side are the fields applicable to each course. Note that these fields are greyed out because there is no item currently selected. Manipulating individual items is accomplished in the same manner as the instructor database. The available fields for each course are:
The Type of a course corresponds to the Type of a room. A Lab course will be paired with a Lab room, a Lecture with a Lecture room. WTUs are compared against an instructor's WTUs available to determine if an instructor is able to teach a course. An instructor cannot teach more courses than he has WTUs available. Equipment required is checked against the equipment provided field of the room database. If a room does not offer the equipment that a course requires, the scheduling tool will not pair them together. To add a new entry to the database, the user can click on the Add button below the list of courses, which produces the following screen, seen in FIGURE: 2.4.2.2.
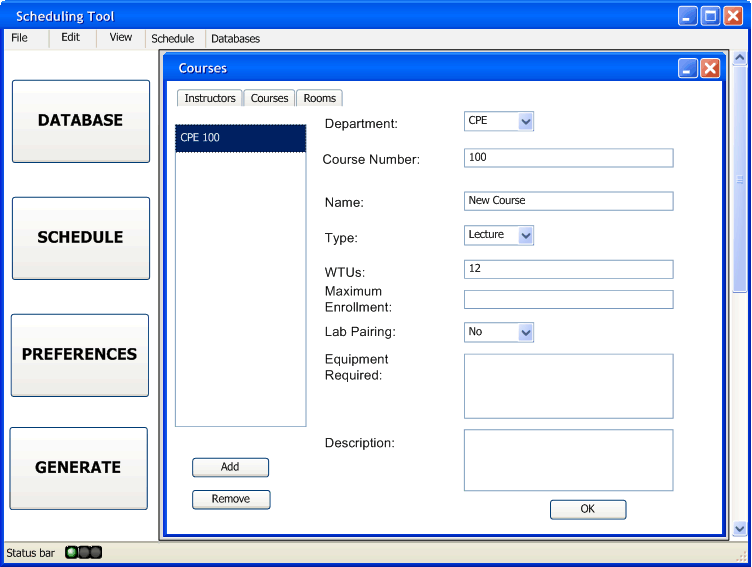
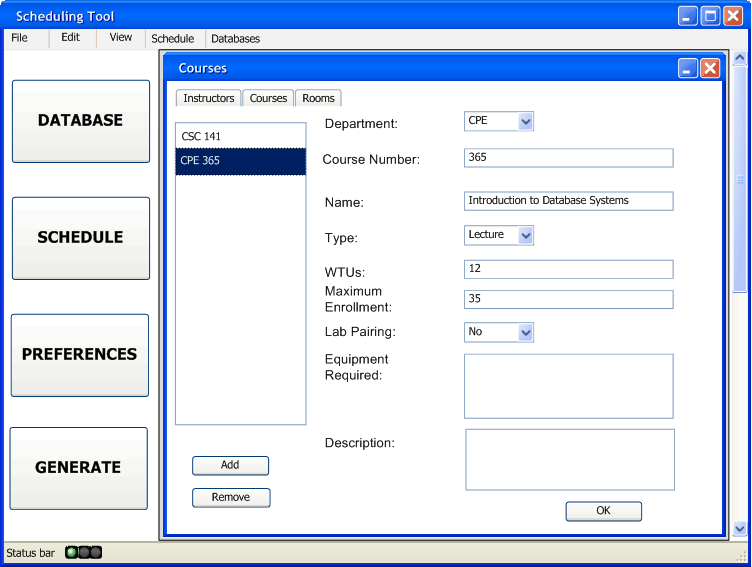
Clicking the add button creates a new entry in the database. This new entry is initially filled out with default values. The user can enter data for this new course over the default values simply by modifying the data in the fields on the right side of the screen. The name of the entry as it appears in the list is determined by Department, Course Number, and Type. FIGURE: 2.4.2.3 shows an entry for a course without a lab component.

Figure 2.4.2-3 shows the minimal entry for a course. The required fields are Department, Number, Name, Type, WTUs, and Lab Pairing. This is a simple course that does not have a maximum enrollment, lab pairing, required equipment, or a description. To create a more detailed course entry with a lab component, the user can click the Add button again, and fill out most of the required information as before, seen in FIGURE: 2.4.2.4:
So far this screen is no different from the preceding screenshot, but as soon as the user selects Yes for Lab Pairing, a new entry appears in the course list, as seen in FIGURE: 2.4.2.5
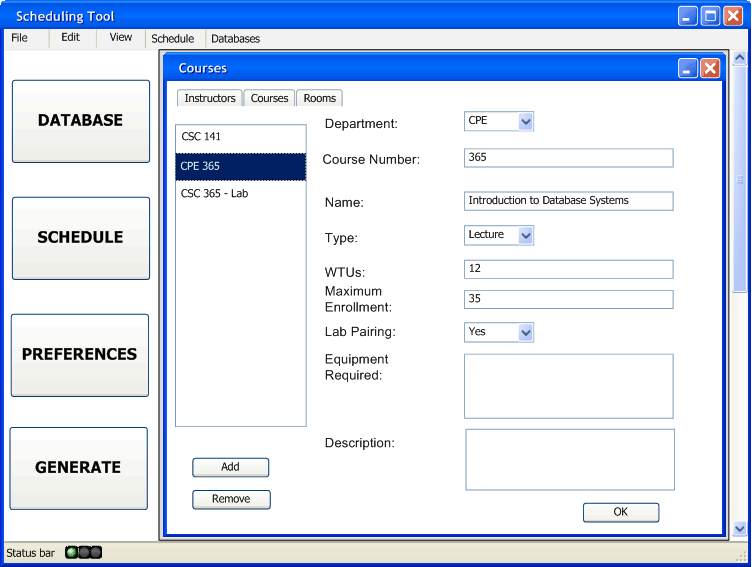
The software automatically generates a new entry in the database when the user indicates that a lecture has a lab pairing. The new entry has the same department and course number as its parent lecture, and is suffixed with a " - Lab " to distinguish it as a lab. The user can view the entry for this newly created lab by clicking on it in the list of entries to the left, as seen in FIGURE: 2.4.2.6

The department, course number, name, and maximum enrollment are initialized with the same values as the associated lecture. The Lab Pairing option is greyed out because Type is marked as Lab. This automatically-added entry is only a convenience for the user. The user can change any of the fields in this entry as usual, even the Department, Course Number, and Type. There is no physical association between this new entry and the lecture that creates it, except for the default values filled in upon creation. The user can also create a standalone lab, simply by creating a new entry and changing its Type to Lab. No lecture is automatically generated in this case.
The user can continue adding entries to populate the database. When enough entries exist in the database, a vertical scrollbar appears in the list of entries as seen in FIGURE: 2.4.2.7

This is what the database screen looks like after the user has added several entries. The list is ordered numerically, with lectures appearing above corresponding labs. To remove an entry from the database the user can select an entry and push the Remove button. The prompt seen in FIGURE: 2.4.2.8 will appear to confirm the removal of the selected entry.
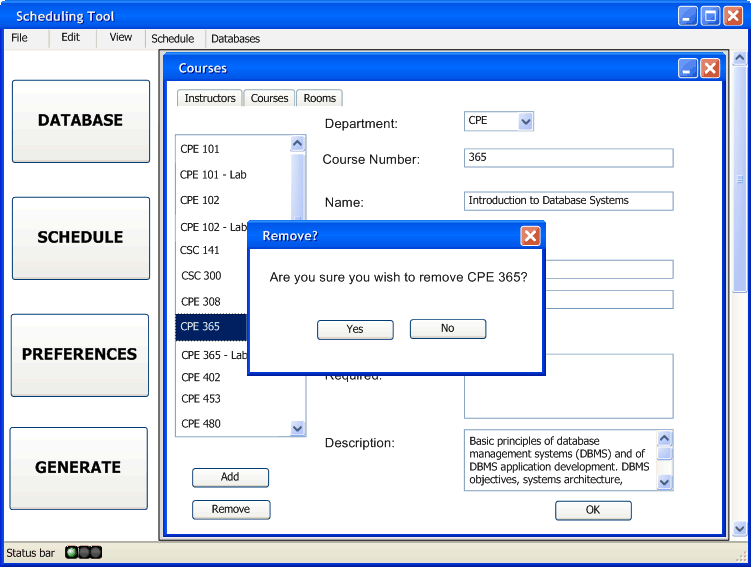
If the user clicks Yes, the entry will be removed from the database, otherwise no action is taken. If there was a lab or lecture associated with the removed course, it will NOT be removed upon deletion of its pairing. Lecture and lab entries must be deleted separately. To exit the course database screen the user can either click the X at the top of the window or press the OK button in the bottom right corner.