Another possible view for the schedule is the Resource by Time View. In this view each column is a block of time and each row is the resource in question. Not shown in the following screenshots are the other three panels present in the other views. Please see 2.4.3.3.1. Week View for more insight into those panels.
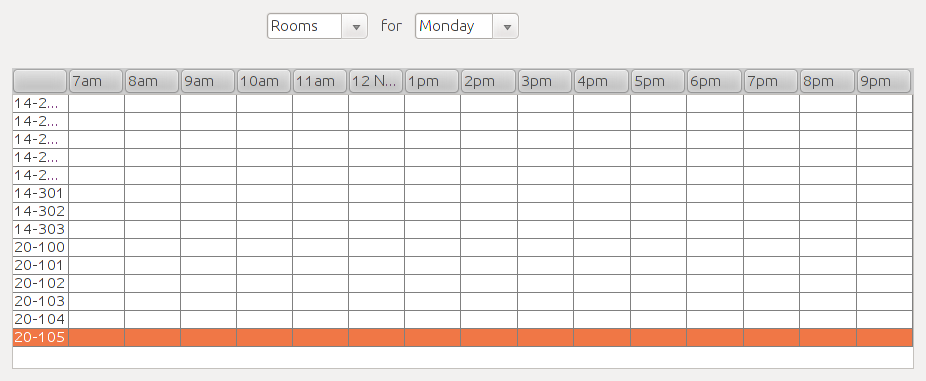
Figure 1: Upper-left panel of the Resource By Time View
In the heading for this view are two drop down boxes. The first allows the user to select either Rooms or Teacher to focus on. The other shows which day of the week to be displayed.
The user can view more detailed information on a particular scheduled item by clicking it. The pane in the upper-right corner of the screen is filled with detailed, editable information on that scheduled item.
When a scheduled item is selected, the pane in the lower-right corner is populated with a list of all the scheduled items that take place concurrently. To bring one of these buried items to the front, the user selects it from the list.
To add an item to the schedule, the user selects a course, teacher, room, time block, and starting time from the list boxes. To add this item to the schedule, the user clicks the "Schedule Item" button. If adding this item will cause a conflict, the conflict resolution dialog is shown. See the conflict resolution page for more information.
To modify any of a scheduled item's attributes, the user selects it and then uses the pane in the upper-right corner to select new attributes from the drop down lists.
If the user makes a change that causes a conflict, the conflict resolution dialog appears on the screen. See the conflict resolution page for details.
See the Locking Resources page for details on locking resources.
To remove a scheduled item, the user clicks the item to be deleted and then clicks the delete button in the upper-right pane.