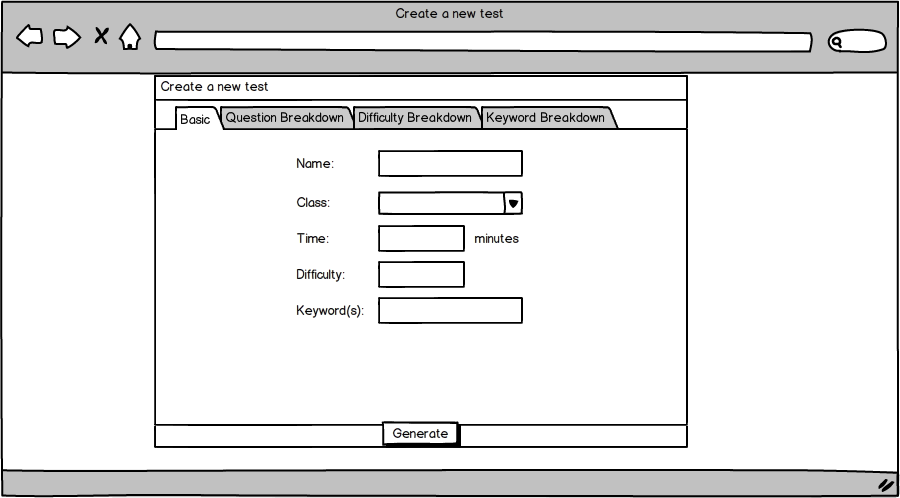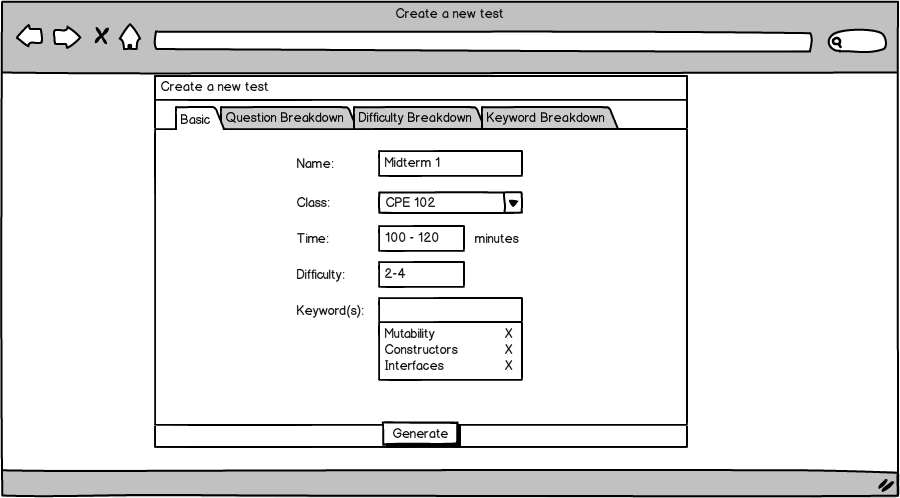
Figure 5: Basic Test Creation
When the user selects the "New" option from the "Create or Open Test" dialog seen in figure 4, RAINBOW prompts them with the test creation screen seen in figure 5.

The user then fills in the name of the test that they are creating, select the class the test will be for, specify a time range that the test should take, a range of allowed question difficulties, and a set of keywords to dictate the kinds of questions that may appear on the test. To learn more about question keywords, see Adding a Question. It is important to note that if any of these parameters are too specific, it may be impossible for the test generator to fulfill them. This scenario is covered in more detail in Section 2.2.5.

The user is allowed to leave the keyword field empty if they wish. By doing so, this means that all keywords are fair game.
After filling in these basic parameters, the user may decide they wish to have more fine-grained control over the test generation process. To do this, the user clicks any one of the tabs at the top of the test generation page. These option are described in detail in the following section.
If the user does not wish to use these advanced, the user clicks the generate button and is taken to the Test Customization screen described in Section 2.2.4.