After the administrator selects the Courses tab in the left navigation bar of Manage Resources View, the Manage Courses View emerges.
The scenarios in this section show an administrator browsing and editing information about courses, including:
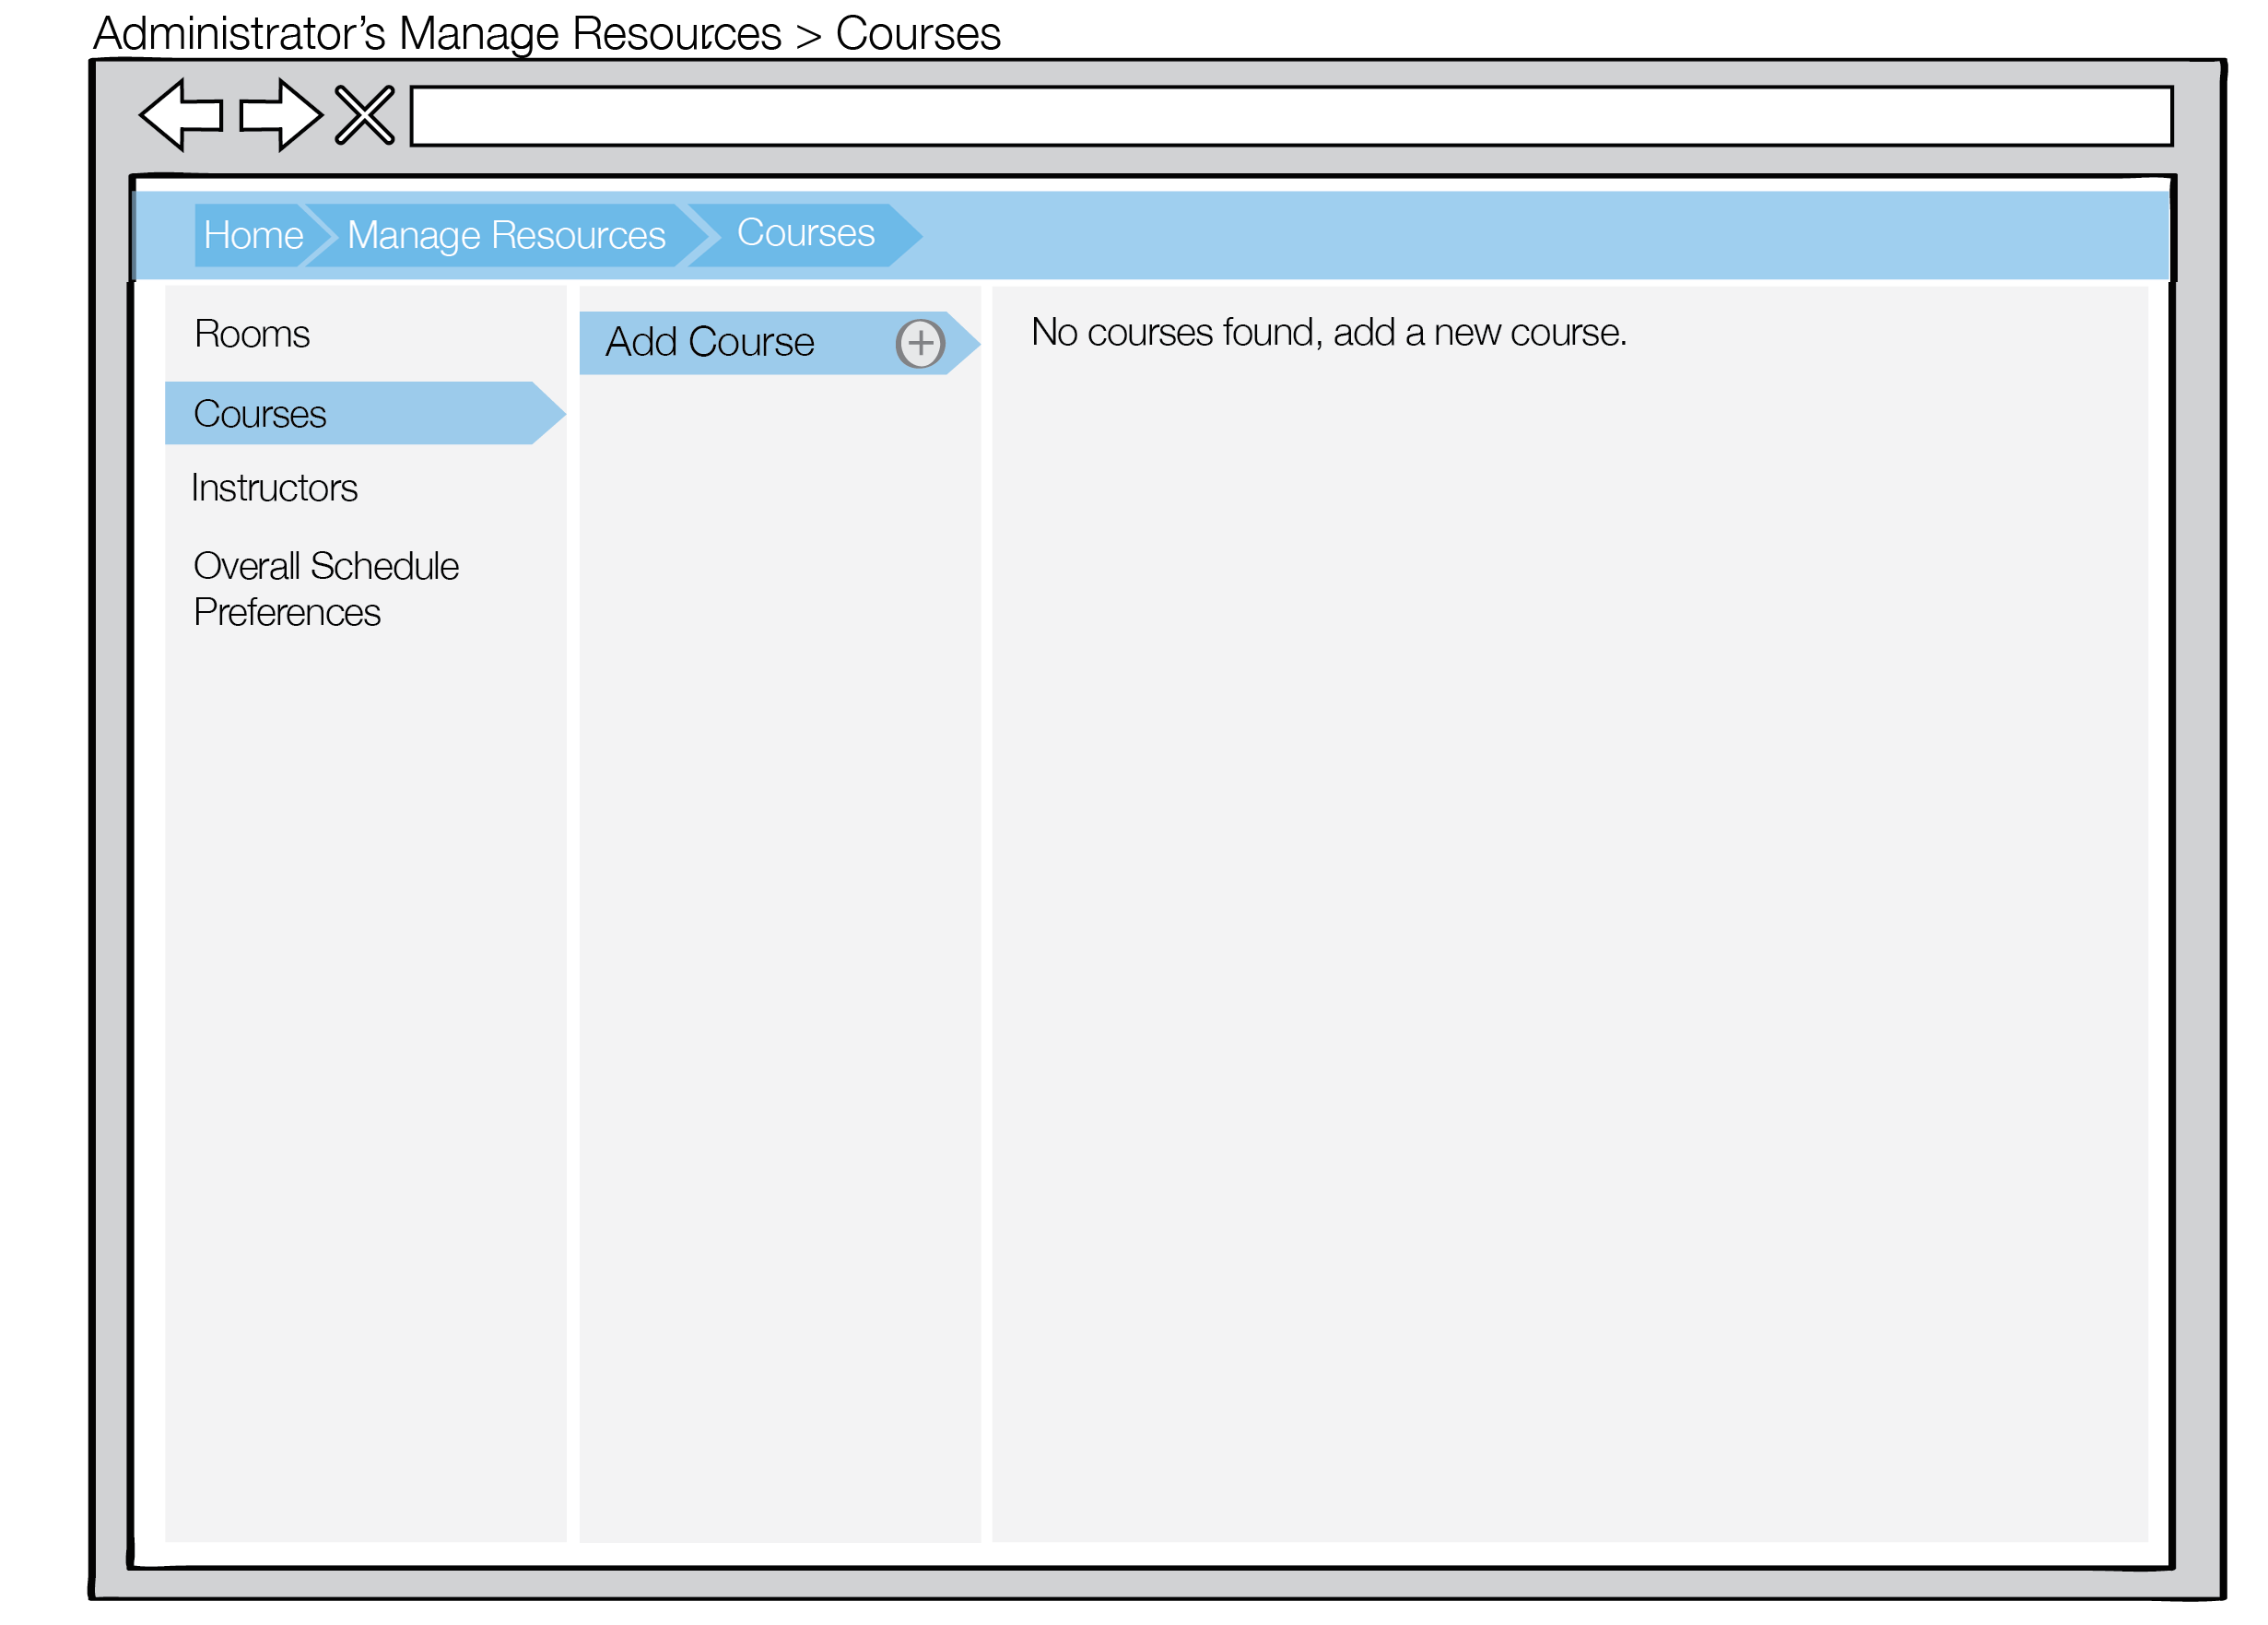
Before data entry occurs, the Manage Courses View appears as shown in Figure 1.

Figure 1: Initial courses view for administrators
When the database is empty, the middle panel consists of only an Add Courses button and the right panel displays the message "No instructors found, add new instructor".
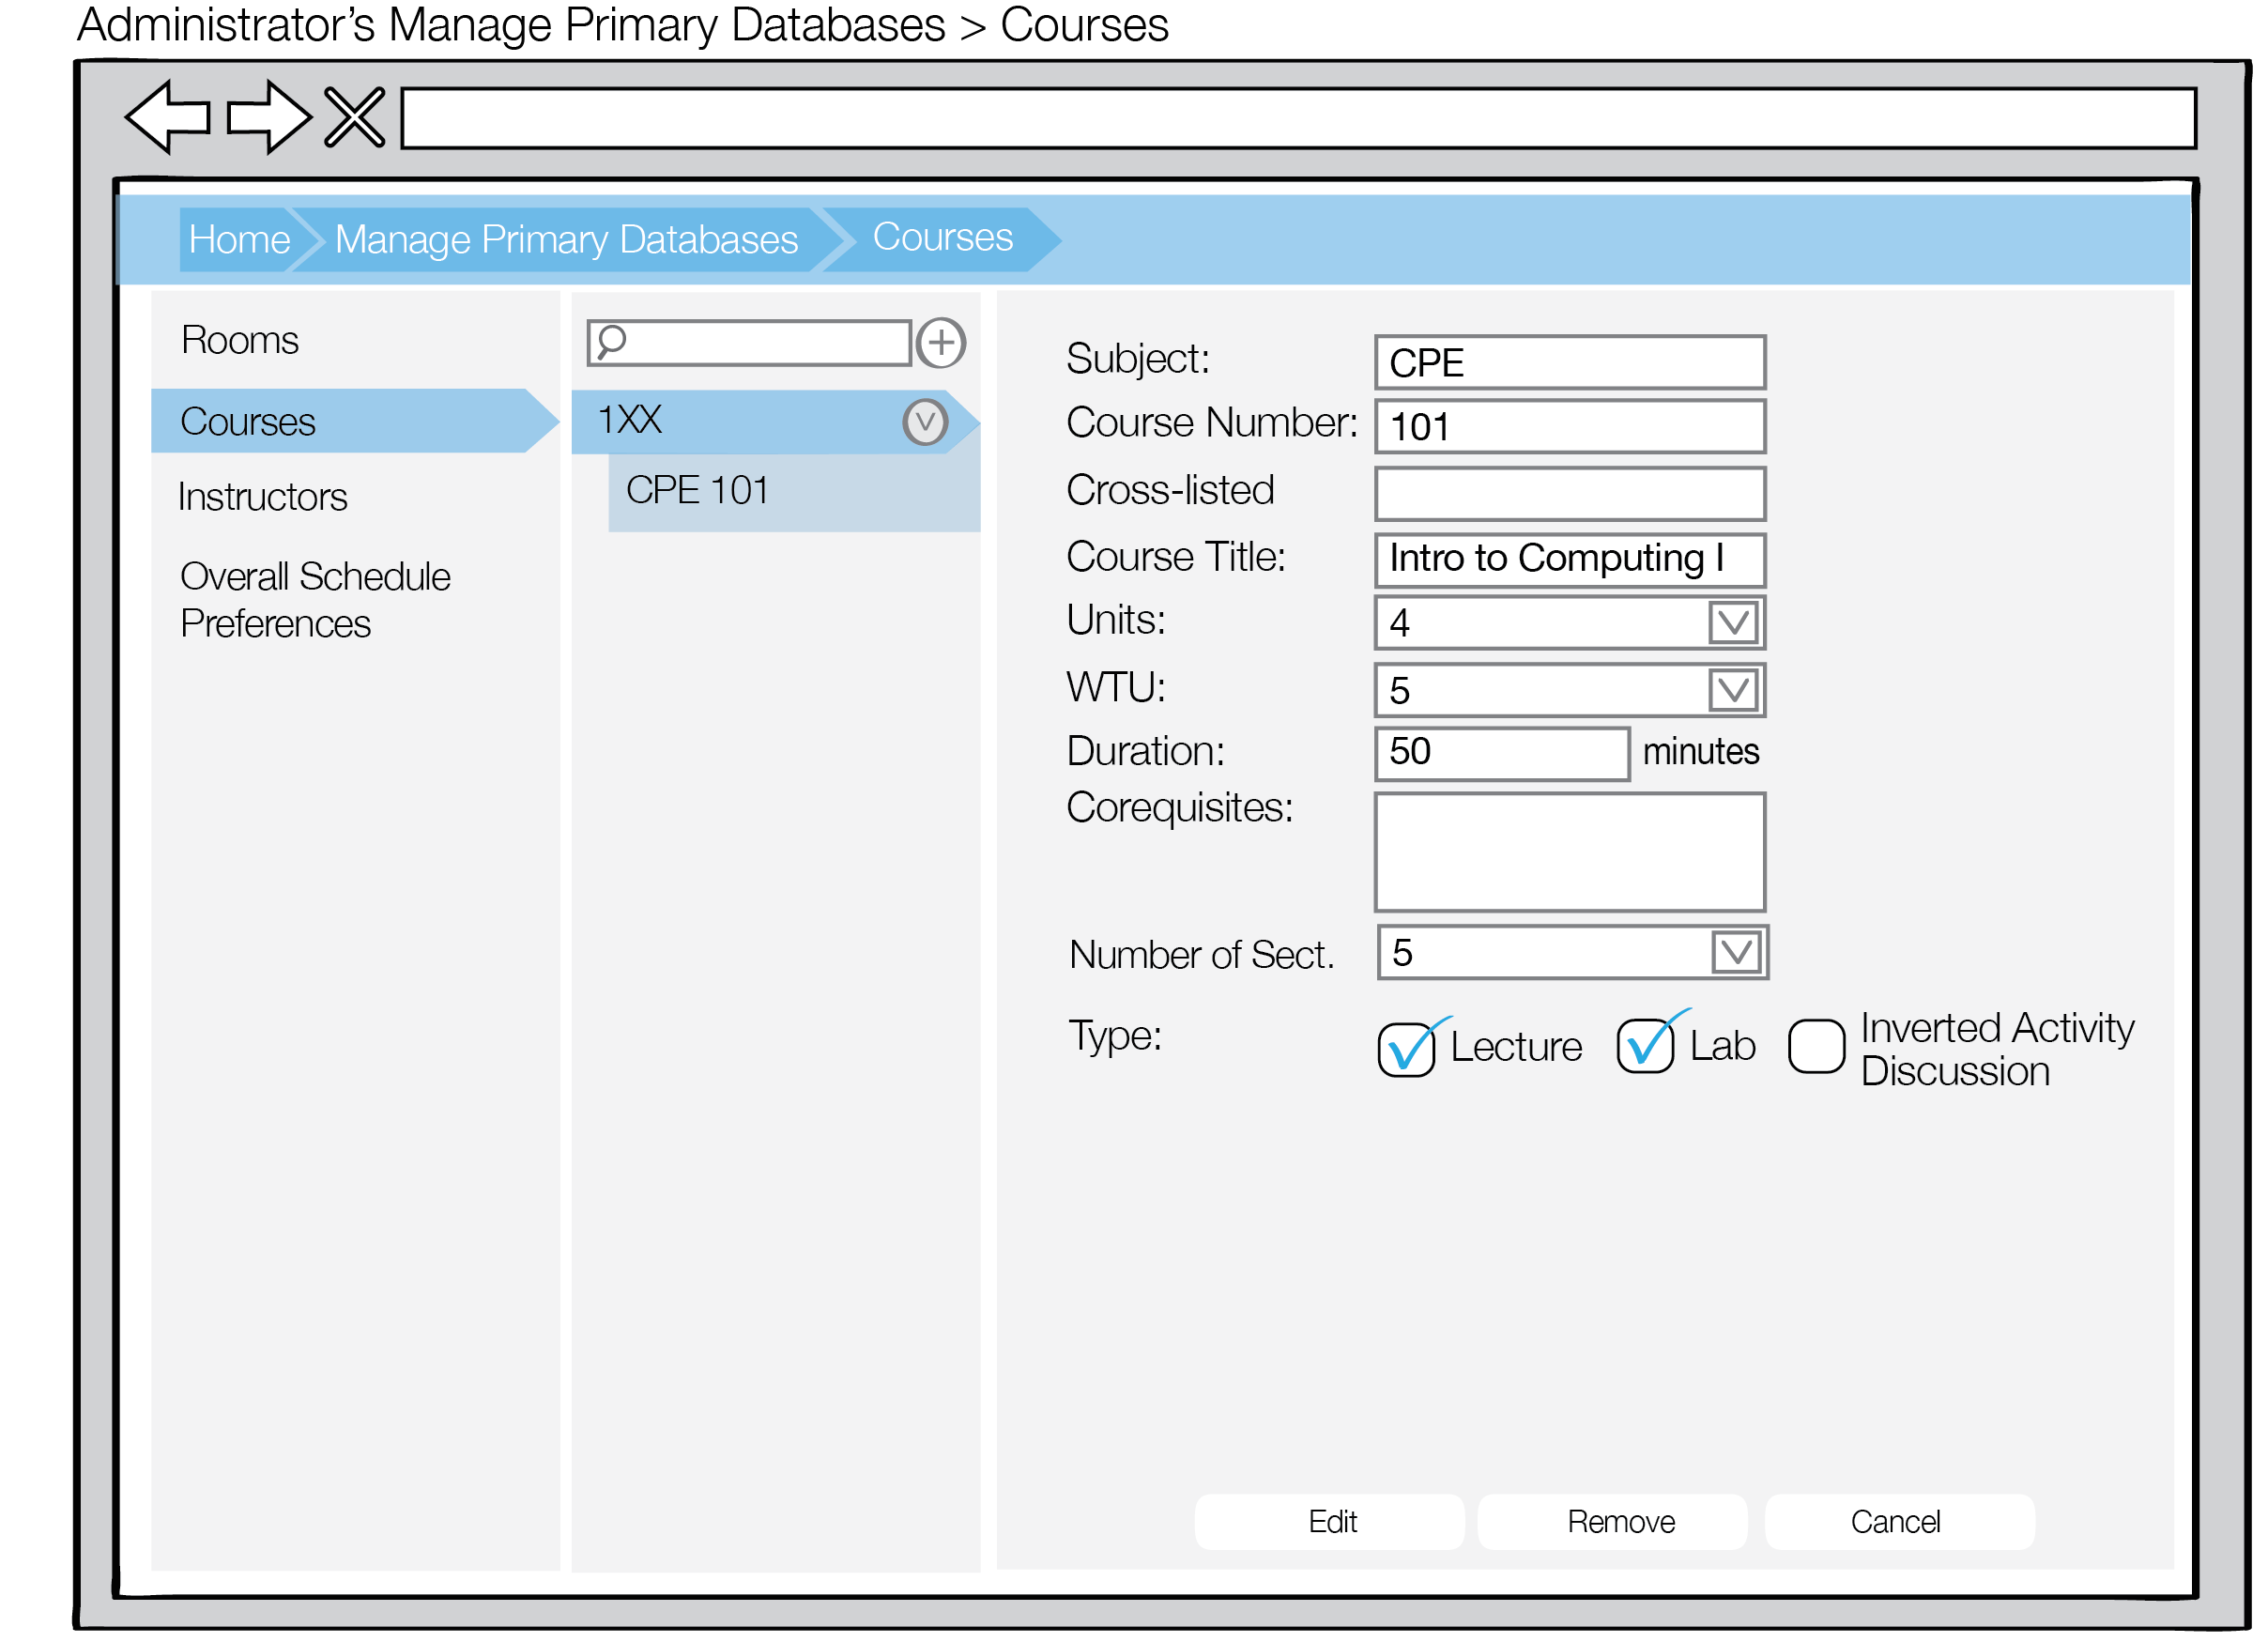
The administrator selects the Add Courses button to add a new course. The Add Course button prompts the user for course information, as discussed further in section 2.3.2.1. Add Course. After the administrator adds a course, the course list looks like Figure 2.

Figure 2: Course view for administrators populated with one course
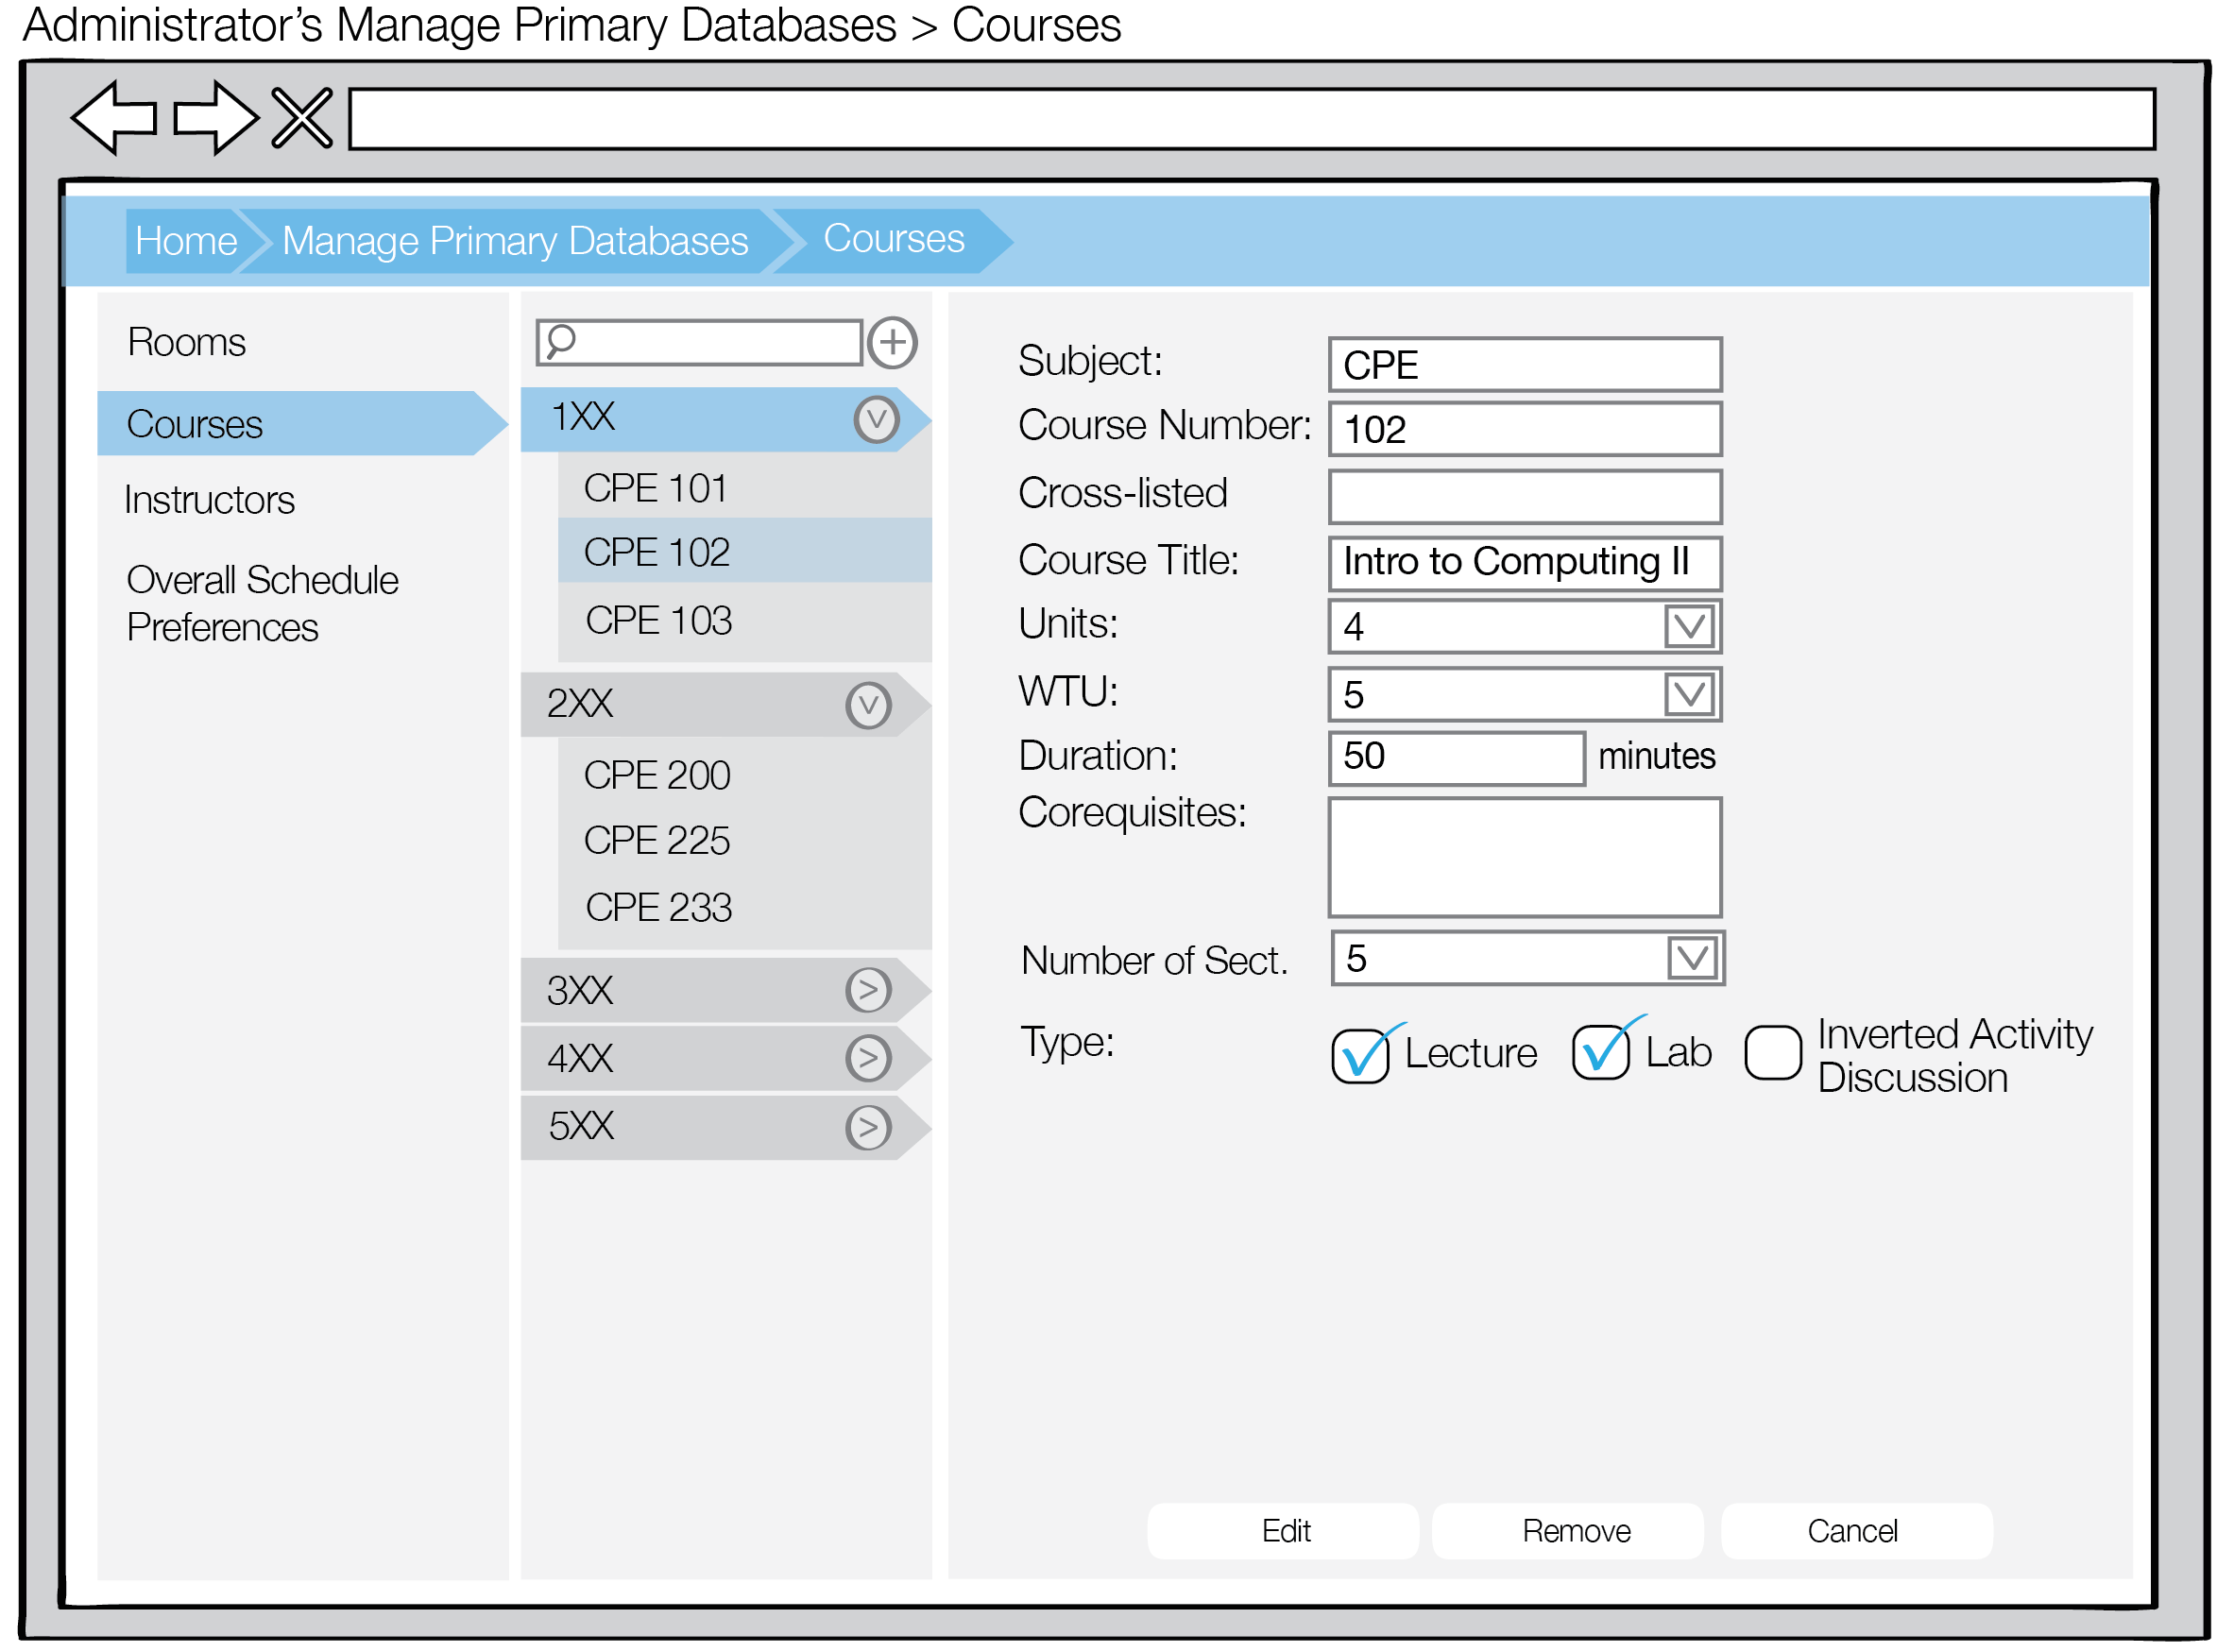
After the administrator populates the courses, the courses looks like Figure 3.

Figure 3: Course view for administrators populated with many courses
Courses are sorted based on course number and can be found by searching in the search bar.
The administrator can edit any of the courses he or she entered by selecting the respective course and pressing Edit, as described in section 2.3.2.2. Manage Course. The admin can delete a course by selecting one of the courses and selecting the Remove button as described in section 2.3.2.3. Remove Course.