This section show the scenario of an instructor performing tasks using the oval tool. The oval tool is used to put the oval shapes into nodes of a lesson. The author might put in ovals to help with the flow of the lesson or create a box to emphasize certain material.
If the user has created a node with text within it and the user wants to emphasize that text by putting a oval around it then the user will use the oval tool. The user can either click on the oval tool in the Node Tools toolbar or selecting Authoring -> Node Tools -> Oval in the menu bar to activate the oval tool.
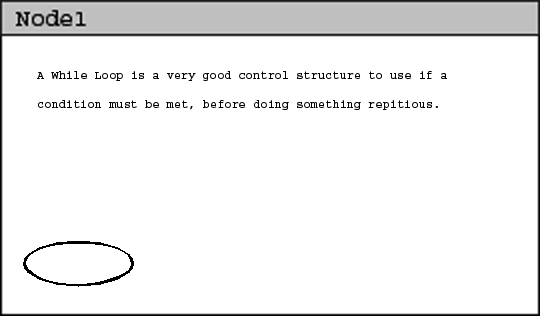
After making the tool active the default oval will appear on the bottom left corner of the current node. This is demonstrated in figure 1

Figure 1: Result of activating oval tool
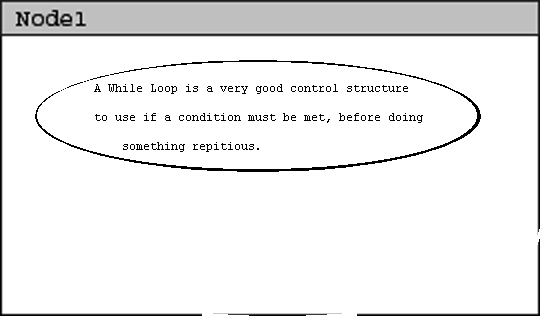
In most cases the location and size of the default oval will not be adequate. The user can change the resize the oval by using the resizing tool, discussed in section 2.2.2.11.5.3. To change the location of the oval the user will use the move tool discuss in section 2.2.2.11.2. An example of a oval with text within is shown in figure 2

Figure 2: Result of text within oval.
The color of the oval will be the current color settings in the CSTutor tool. The oval can be of any color available in the CSTutor application. Details of selecting a color is in section 2.2.2.9.