The scenarios in this section show an instructor performing tasks using the color tool. The color tool is used to specify what color should be applied to objects added to a node using the other node tools. For example, a rectangle produced using the rectangle tool will be the currently selected color.
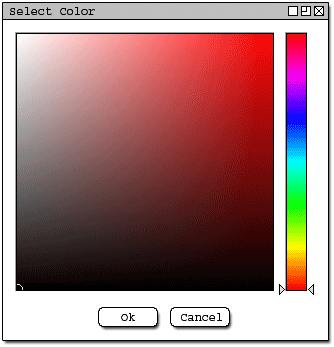
Lets assume that the user has created the node seen in figure 4 of the Text Tool scenario. the user wants to create a green box around the text. First, the user clicks on the color tool in the Node Tools toolbar and the system responds by displaying the Select Color dialog as seen in figure 1. (Alternately the user may select Authoring -> Node Tools -> Colors... from the menu.)

Figure 1: Select Color dialog.
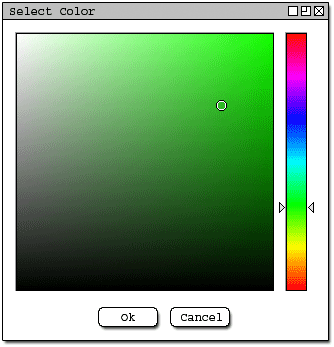
The user then moves the color slider into the green area and selects an appropriate color that they want from the color box. The current position in the color slider is represented by arrows on either side and the current position in the color box is outlined by a black and white circle (the center of which is the currently selected color). The resulting dialog is seen in figure 2.

Figure 2: Select Color dialog with a color selected.
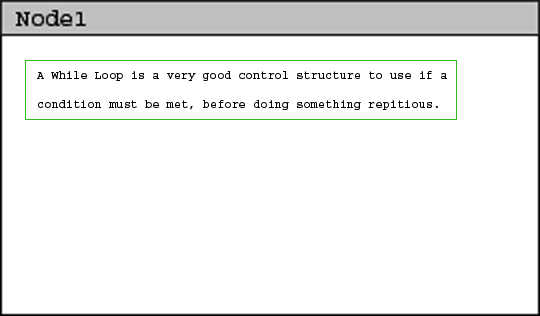
Now the user can create a rectangle and the selected color will be applied to it. See the Rectangle Tool scenario for more information on creating rectangles. A sample rectangle with color settings applied to it can be seen in figure 3.

Figure 3: The result of creating a rectangle with a green color selected.
The current color selected in the color tool is applied to many of the node tools and not just the rectangle tool. The tools affected by the color tool are the Text Tool, the Straight Line Tool, the Freeform Line Tool, the Rectangle Tool, and the Oval Tool.
This concludes the color tool scenario.