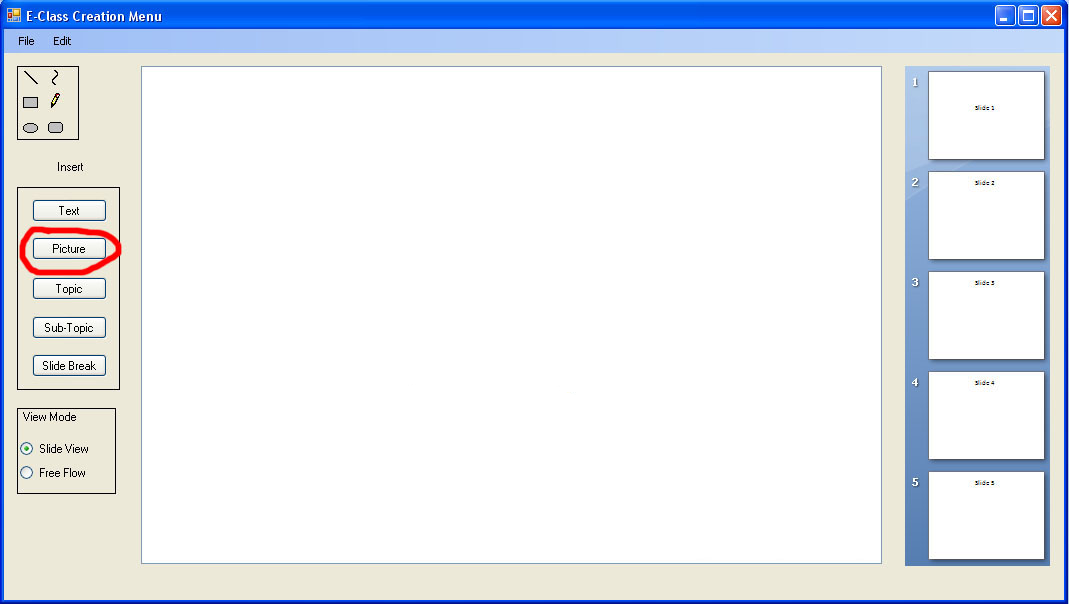
Figure 1 - Insert Image: Click Button
This scenario guides the user through the process of inserting an image into a lecture.

Figure 1 - Insert Image: Click Button
To insert an image the user first clicks on the Picture button.
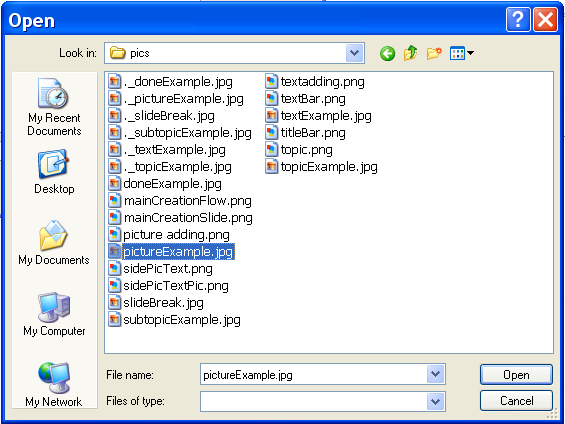
Figure 2 - Insert Image: Browse
After clicking Insert Image the user will be presented with a Browse box. The user selects their image and clicks ok.
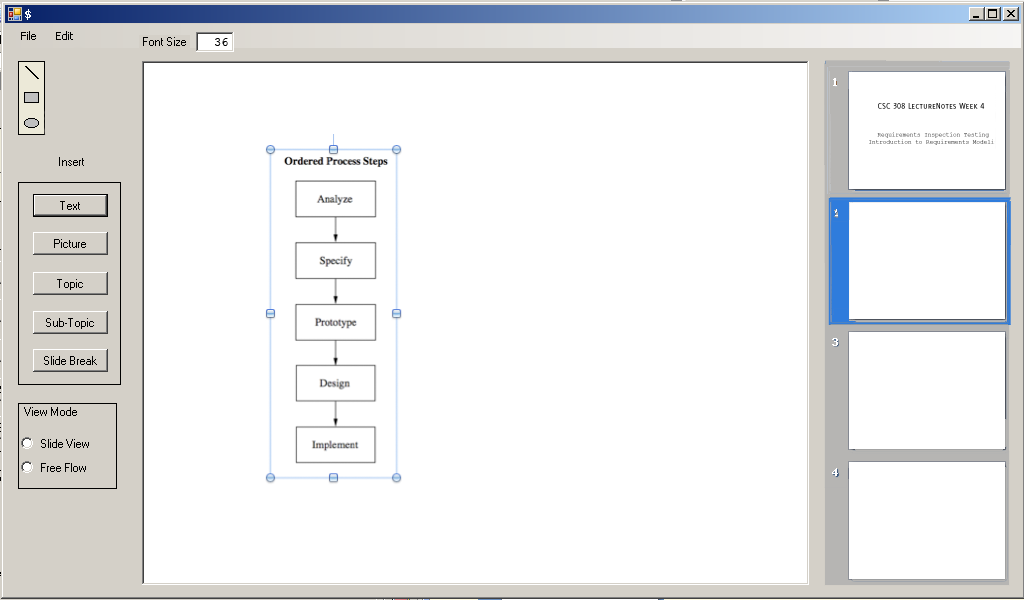
Figure 3 - Insert Image: Placing Image
The picture can then be placed anywhere on the slide.
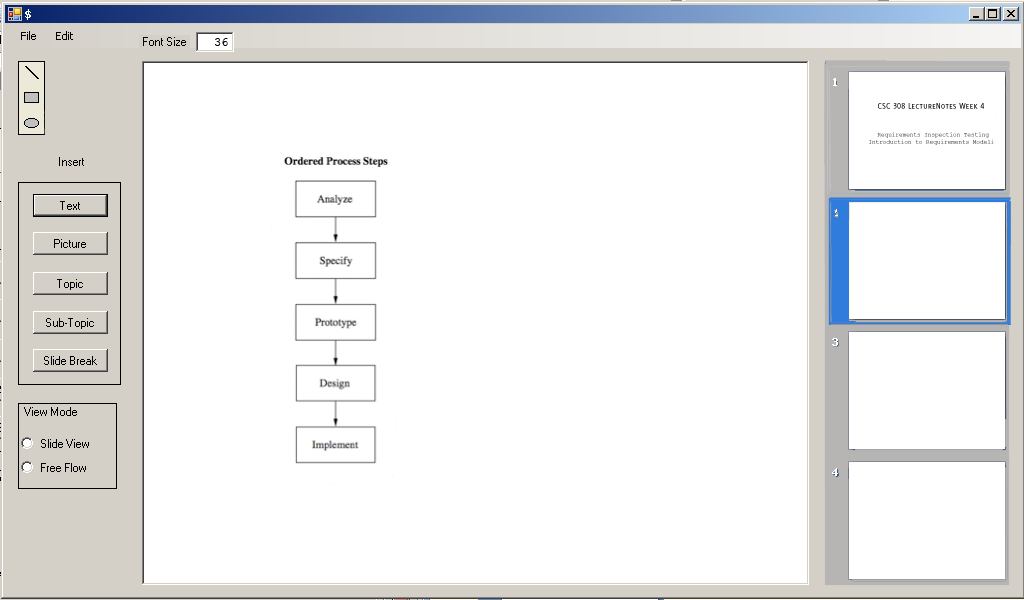
Figure 4 - Insert Image Complete
Image is now inserted.
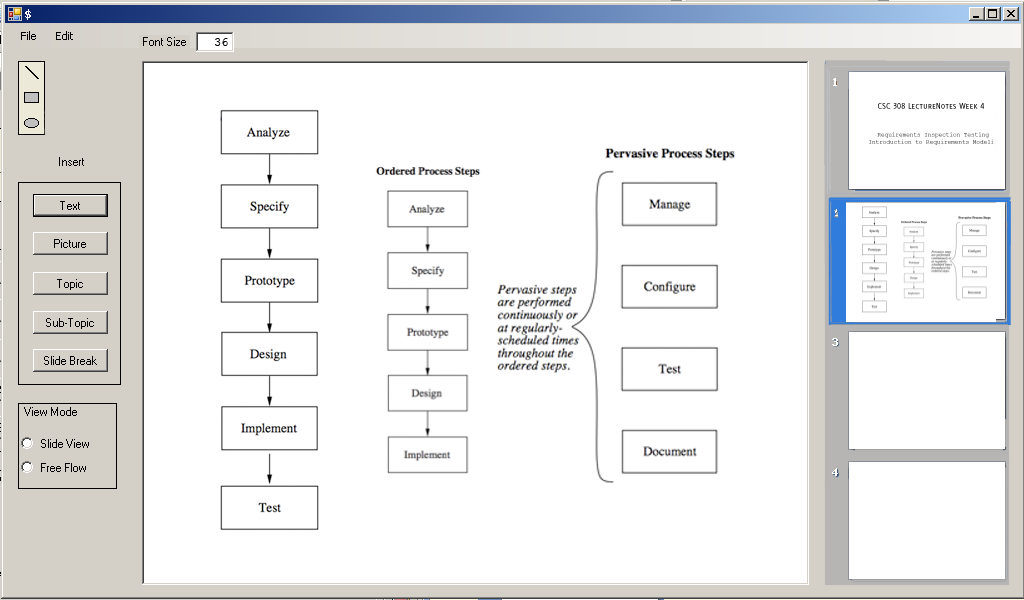
Figure 5 - More Images Added
Here is the slide after 2 more image inserts.