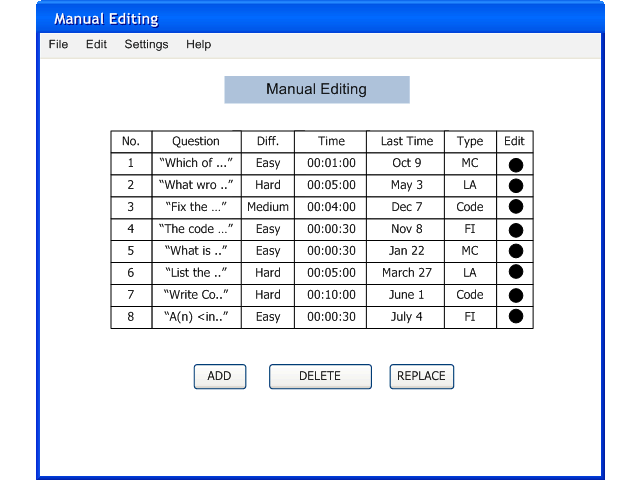
When the user presses "Save" buttion in Figure 2.2.1.3, the Test Tool saves the test and displays the manual edit screen like in figure 2.2.3.1.

Figure 2.2.3.1: Manual Editing.
There is a "Add" button to adds question to the test, "Delete" button to removes question from the test, and "Replace button to replaces a question from the test. If the user want s to edit the details of a question, there is a small circular button next to the question to go to detail window. The Question Editing interface is exactly like section 2.3.1.Adding/Editing A Question. This test is a copy of the questions from the database. This means if the user change the content of the questions, it does not effect the Database.
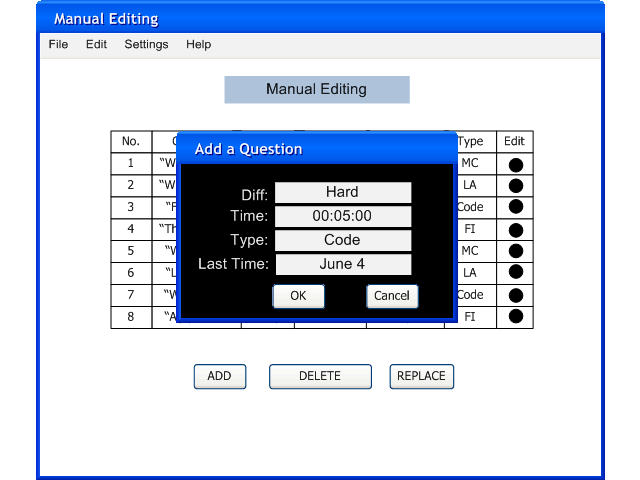
Figure 2.2.3.2: Add Question.
The user fill out the fields and click ok. The generator get a question from database useing the information user enters, and add to the test.
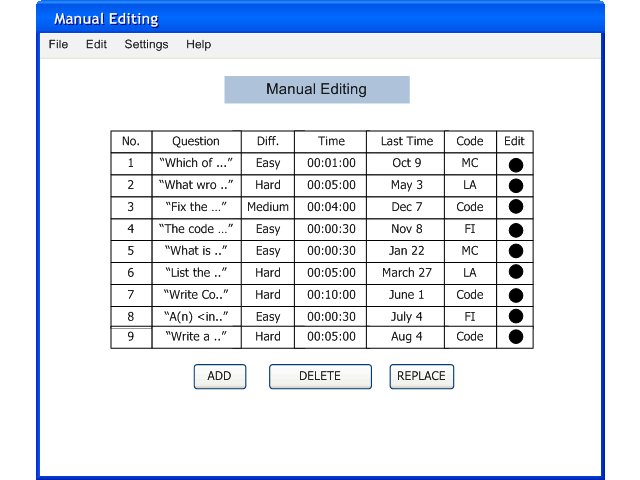
Figure 2.2.3.3: New Question was add to the Test.
The user can delete a highlighted question by select the question And click on DELETE button. Confirm window looks like figure below:

Figure 2.2.3.4: Delete Question.
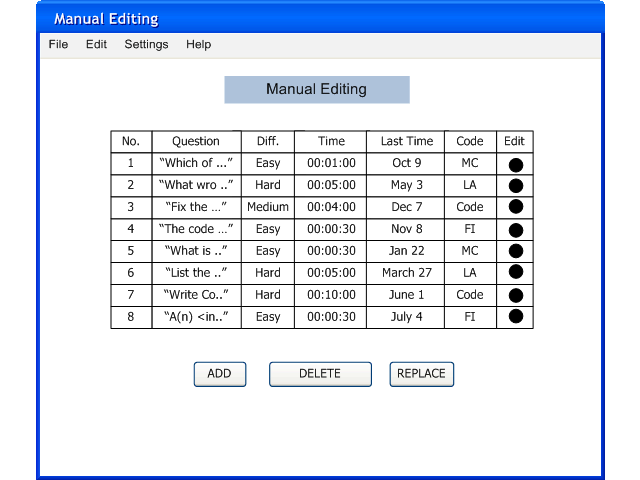
Figure 2.2.3.5: Question Deleted.
The user can replace a question, by select a question in the test and selects a question in Question Database window .
When the user clicks replace, Test Tool swap the two question selected.
If there is no selected question in the Question Database Window, Test Tool replaces a new question with
the same properties as the highlighted one from the test, shows in figure Figure 2.2.3.6 and Figure 2.2.3.7
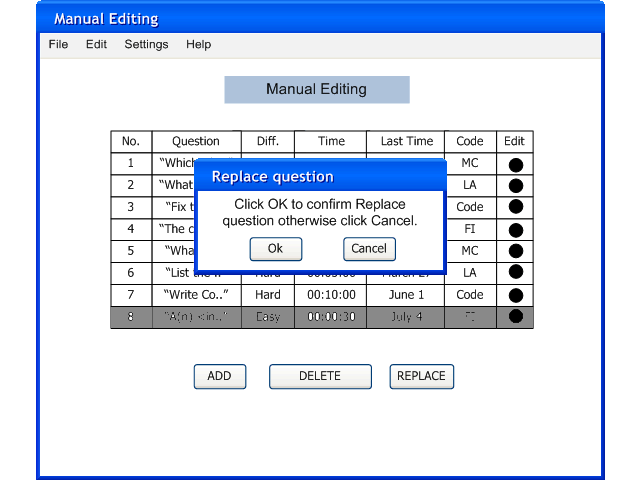
Figure 2.2.3.6: Replace Question.
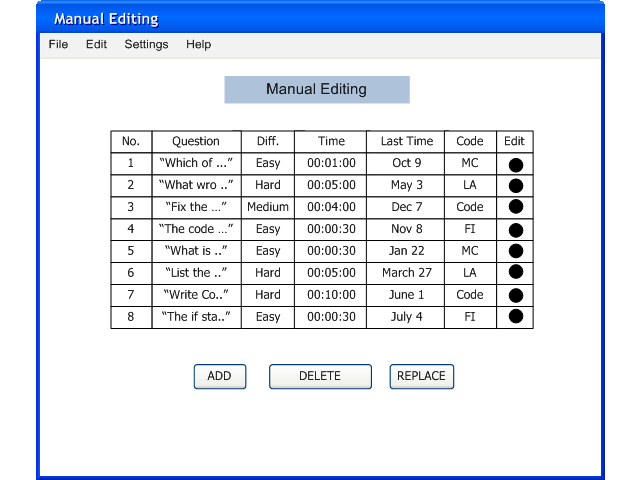
Figure 2.2.3.7: Question Replaced.