The scenarios in this section show a user using his/her tutorial in a variety of ways, in particular:
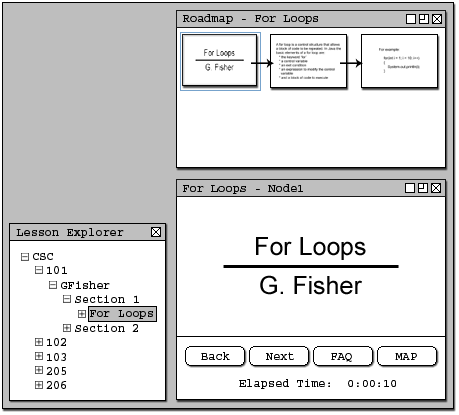
Once the user has chosen the appropriate lesson plan using the lesson explorer , the user is ready to view the lesson. The initial view starts at the first node of the lesson which introduce the topic to the user. An example of an initial view of a lesson is shown below in figure 1 .

Figure 1: Initial view of lesson.
On the top of the screen there is a roadmap of the course lessons which indicates where the user is within the course's lesson plan. The roadmap allows the user to move to and from different lessons. Also included in the initial view are buttons that allow the user to navigate within the lesson, such as a button to continue forward to the next node of the lesson, move back to the previous node, button to post any question regarding this particular part of the lesson into the smart FAQ board. A chat room is also located at the bottom of the screen. On the bottom of the screen also show the amount of time since the start of the lesson.
The road map shows the current position of the lesson in the course the user has selected. The user can easily jump from one location of the course to another by pressing a certain position of the road map. Also this view allows the user to effortlessly see how far into the course the user is and how much longer he/she has to go to finish the lesson plan. When the user click on the 'Map' button the map will be appear inside the application if the road map was already there, and it would bring the road map up to the front if the road map is already shown within the application.
After the 'next' button has been pushed the next node of the lesson with the same functionality of the first node is shown in the figure 2 below.
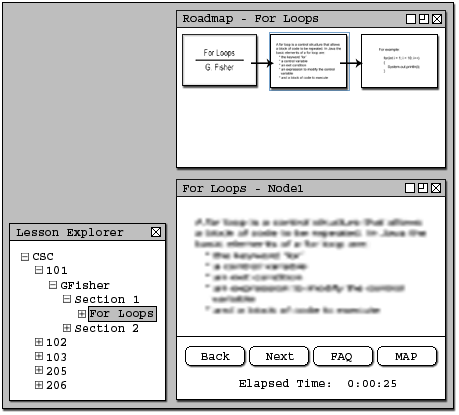
Figure 2: Results of the user pressing the next button
Each consecutive press of the next button will result in the forward progression of
the lesson until the end of that lesson. The scenario of the user reaching
the end of a particular lesson is illustrated in Section 2.4.7.
After the 'back' button has been pushed the previous node of the lesson with the same functionality is shown in the figure 3 below.
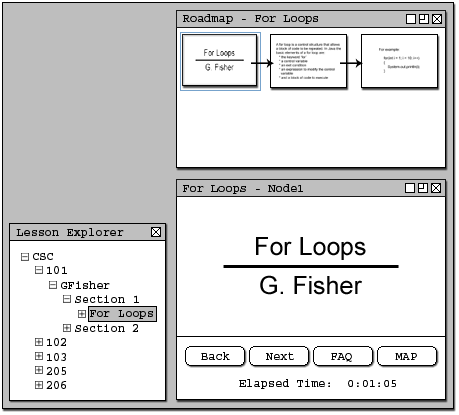
Figure 3: Results of the user pressing the back button
Each consecutive press of the back button will
result in the backward progression of the lesson until the beginning of the
lesson. The user may move past the the initial node of the current lesson
and back to the end of the previous lesson. The last node that the user is
able to reach is the first node of the lesson plan.
2.4.5
Runnable Code Example
A lesson can contain Runnable Code example nodes to show how code works. It displays the code in a grey text box area and contain a run button. An example of this is in figure 4.
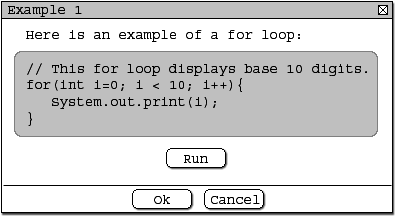
Figure 4: User viewing an example of runnable code
When the user presses the 'Run' button a dialog box pops up with the output of the code. This is shown in figure 5.
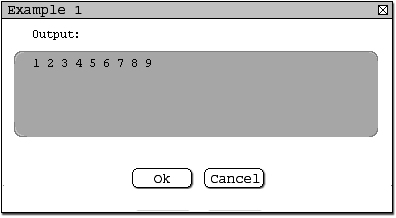
Figure 5: User viewing an result of running the code
There are two possibilities when the end of the lesson has been reached, depending on the mode or required. In the exploratory mode the view will become the first node of the next lesson. In required mode the user must passed a quiz to continue to the next lesson. The quiz functionality is discussed in section 2.3.6.
As the user goes through each node, he/she might have
questions about the subject and if the user decide to post or search for a question he/she
will the 'FAQ' button. This functionality allows the user to post a
question regarding this lesson onto a message board. This scenario is
discussed in more detail in Smart FAQ Board in section 2.3.4
.
2.4.8 Chat room
When the user enters a certain course a chat room consisting of all user in that tutorial located on the bottom of the screen. More details on the chat room is in section 2.3.1 .