Figure 2.2a: Initial New Tutorial Window
This scenario shows an instructor user creating a new simple tutorial. Creating a tutorial is one of the most commonly used functions of the CSTutor for instructors. In this scenario, the instructor wishes to make a simple two page "Hello World" tutorial with a "Hello World" tutorial page and a "Hello World Quiz" to finish it off.
To create a tutorial, the instructor selects the Tutorial item by going to the File menu and expanding New and clicking Tutorial. The system displays the window shown in Figure 2.2a.
The initial "New Tutorial" window is the place where all the pages and quizzes the instructor wishes to compile in a tutorial are placed. The "New Tutorial" window has all the functionality needed to create and post a tutorial to the CSTutor database.
The instructor begins creating the first page to the tutorial. The instructor selects File from the menu bar and expands on the New option and clicks Page. The Page Builder is launched as described in Section 2.3.1 Designing Pages. It is asserted that the instructor completes a page building process and saves it to disk as the page "Hello World". The completed "Hello World" page is Figure 2.2.1a.
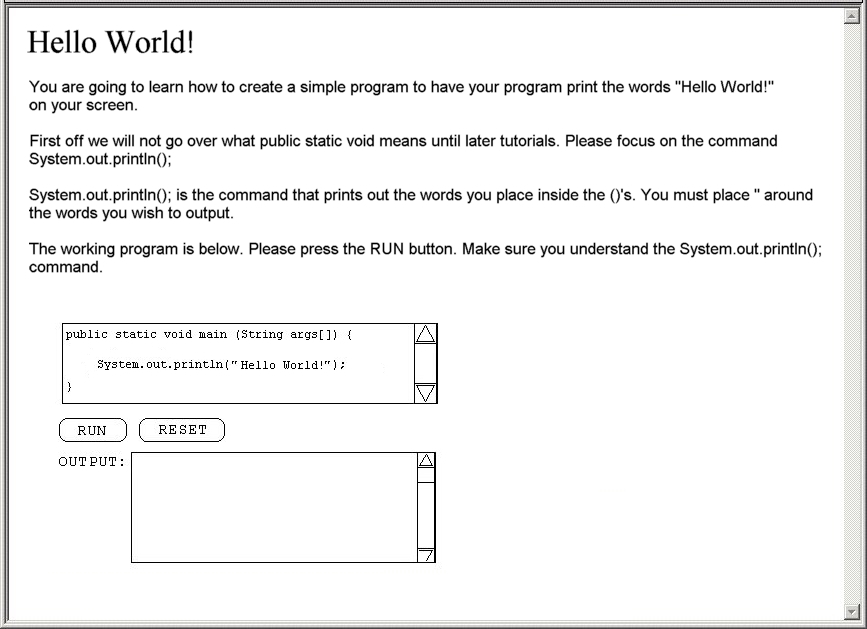
The "Hello World" page is the classic beginners' program for outputting the words "Hello World!" from a compiler. The "Hello World" page explains how to do this and gives an interactive code example.
The instructor begins creating the quiz for the tutorial. The instructor selects File from the menu bar and expands on the New option and clicks Quiz. The Quiz Builder is launched as described in Section 2.3.2 Designing Quizzes. It is asserted that the instructor completes a quiz building process and saves it to disk as the quiz "Hello World Quiz". The completed "Hello World Quiz" quiz is Figure 2.2.2a.
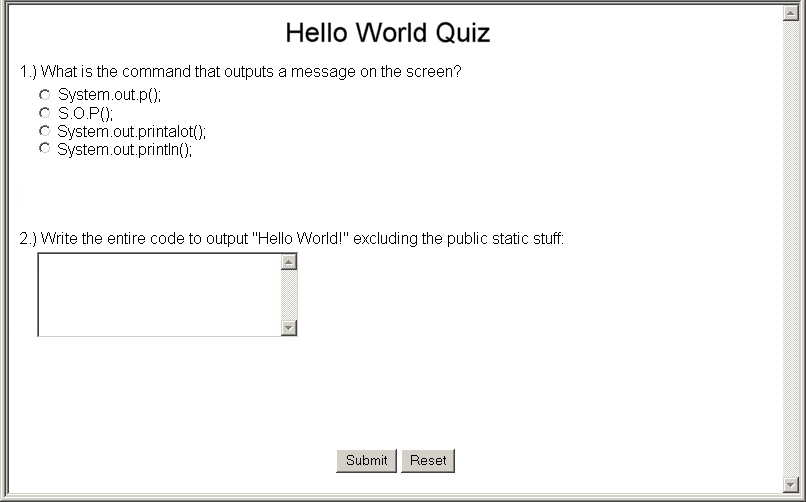
The "Hello World Quiz" quiz is a single multiple choice question and an input the code question.
2.2.3. How To Add Pages To The Tutorial: Local Pages
The instructor begins adding the first page to the tutorial. The instructor selects Tutorial from the menu bar and clicks on the Add Page option. The "Pages" window appears as in Figure 2.2.3a.
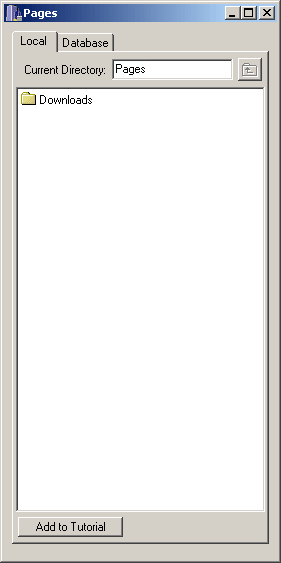
The initial screen of the "Pages" window defaults to display the "Local" tab. The "Local" tab contains all the pages the instructor creates and saves to his or her current computer as well as a "Downloads" subdirectory. The "Downloads" subdirectory contains all the pages the instructor downloads form the CSTutor Database. Below the "Local" tab is a "Current Directory" text field with the label "Current Directory:" that displays the current directory the instructor is in. The "Local" tab defaults to the instructor's "Pages" directory which, along with other default information, is described in Section 2.7 Administrative Details. To the right of the "Current Directory" field is an "Up Directory" button which is an icon commonly recognized for moving up to the current subdirectory's parent directory. Its function is to transverse up a subdirectory one level and can transverse to the instructor's "Pages" default directory, at which point it is disabled. When the local tab is first displayed, it is disabled. The middle scroll field is where the instructor's pages appear and can be selected. Below that is the "Add to Tutorial" button which adds the selected page to the tutorial which the instructor is currently building.
The "Database" tab, when clicked for the first time, activates the "Log In" procedure which is described in Section 2.7.1 Login as appears in Figure 2.2.4a.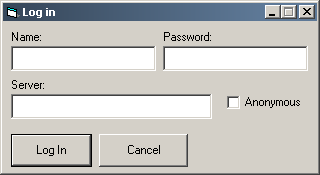
Once that is successfully completed the "Database" tab displays a flat page listing of all the pages currently uploaded into the CSTutor Database as appears in Figure 2.2.4b. The pages displayed in this tab are the pages the instructor has not downloaded into the "Downloads" directory.
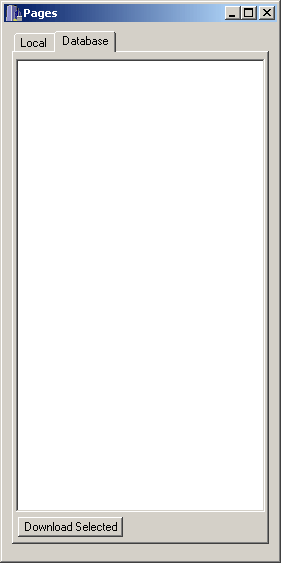
These pages are sorted in alphabetical order. The "Download Selected" button, located below the pages, downloads the selected page or pages to the "Downloads" subdirectory in the instructor's default "Pages" directory. Once they are added to the "Downloads" directory, they will no longer be seen in the "Database" tab. These files can be added to the tutorial by clicking the "Local" tab, going into the "Downloads" subdirectory, and pressing "Add to Tutorial" while a page is selected.
The "Local" tab currently in the "Pages" directory contains the pages "Hello World" and "Hello World Quiz". For details about how every aspect of these pages were created and saved, please refer to Section 2.3.2 Designing Quizzes. The pages appear as in Figure 2.2.5a.
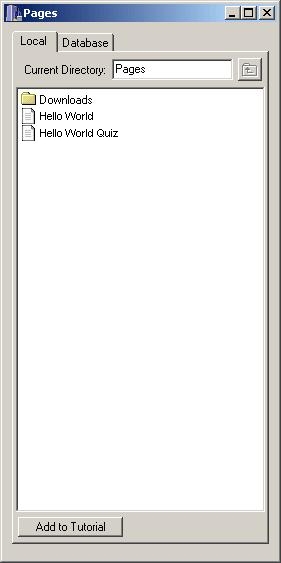
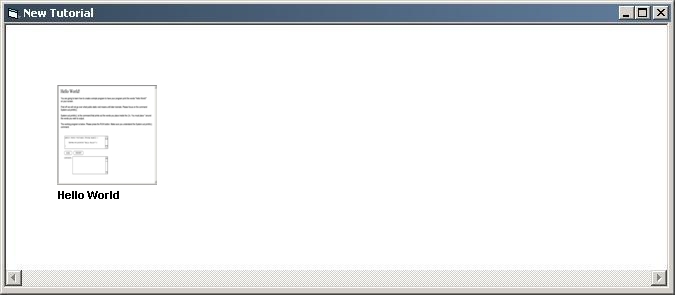
These pages are in the instructor's default directory. The instructor selects "Hello World" by clicking on that page. The instructor presses the "Add to Tutorial" button. The "Hello World" page appears in the "New Tutorial" window as in Figure 2.2.5b.
2.2.6. How Pages Appear On The Tutorial
The page appears as a thumbnail in the "New Tutorial" window with its label is located below it. This label is the name of the page. In this case, the "Hello World" page has the label "Hello World".
It is important to note that the instructor picks the pages to add sequentially. This means that the first page the instructor adds to the tutorial is the initial page the instructor wishes the tutorial to display to the student using the tutorial. If there is a mistake, the instructor can remove any page from the tutorial by clicking on the unwanted page, which is thumb nailed in the "New Tutorial" window, expanding the Tutorial menu and clicking Remove Page. The page is hence removed from the "New Tutorial" window.
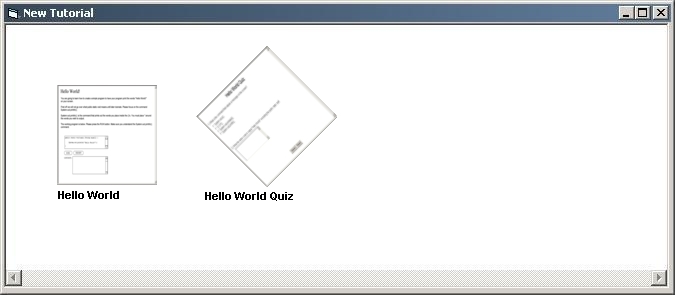
The instructor chooses the "Hello World Quiz" quiz in the "Pages" window and presses the "Add to Tutorial" button. This page is placed to the right of the previously added page as seen in Figure 2.2.6a and has the label "Hello World Quiz". The quiz appears as a thumbnail but is in the shape of a diamond instead of the standard page square. A quiz is the standard end to a tutorial. Unless a page is the instructor's simple means to an end, when a quiz is used, it has conditions as to what Tutorial will next be displayed once the student completes the quiz. For more information on the paths this quiz takes depending on the student's score, please refer to Section 2.3.2 Designing Quizzes.
2.2.7. Viewing And Editing A Page In A Tutorial
The instructor can view and edit any page or quiz by selecting its thumbnail in the "New Tutorial" window and expanding the Tutorial menu and clicking Edit Page. This opens the selected page in the "Page Builder" as described in Section 2.3.1 Designing Pages. The instructor confirms that he has added the correct page by completing the above mentioned process for "Hello World". It appears as Figure 2.2.7a.
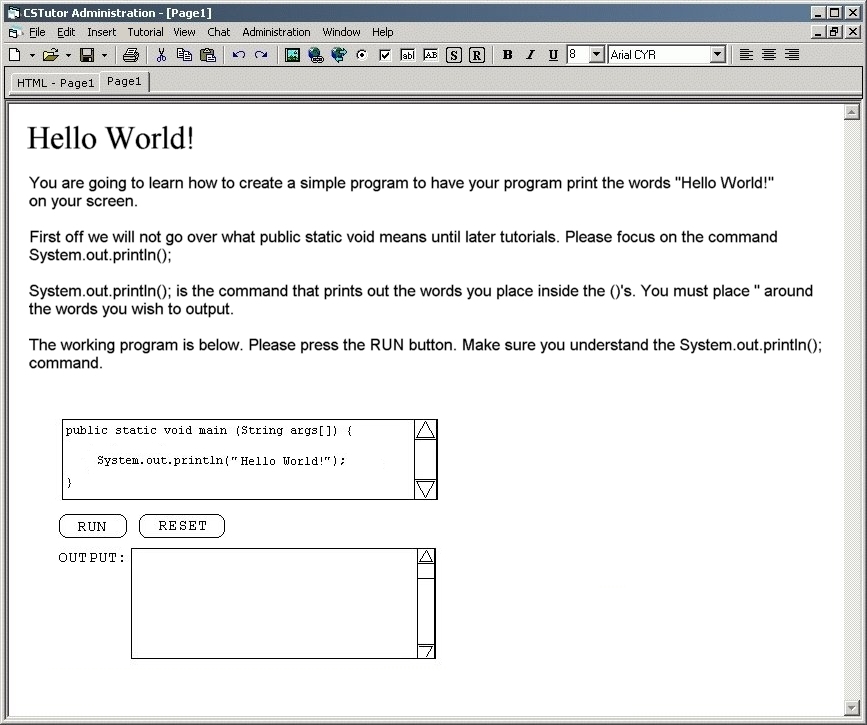
This is the desired page. The instructor closes the page. For more information on what type of editing can be done in this mode, please refer to Section 2.3.1 Designing Pages.
In order for the tutorial to be permanently saved, the instructor invokes the File Save As command from the toolbar. The default name of the tutorial file is described in Section 2.7 Administrative Details. The instructor saves this tutorial as "TutorialX" and it is placed in the default "Tutorial" directory. The instructor closes the "TutorialX" tutorial window along with the "Pages" window and a simple tutorial creation is now complete. For a more in depth look at the tutorial creation process including adding pages from the CSTutor Database, please refer to Section 2.3.3 Roadmap.
Errors can occur when creating a tutorial. Please refer to Section 2.8.2 Tutorial Building Errors.