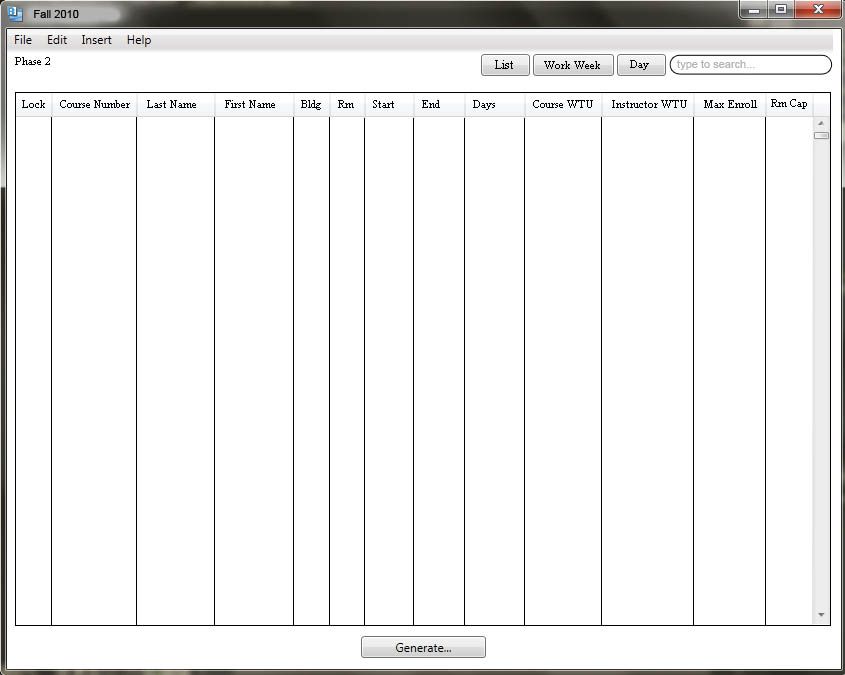
Upon having generated a schedule with all of the information from the databases, the system will display the following screen.

The initial view that the Scheduler provides is list view. Scenarios going over viewing the schedule is described in the Viewing section. In the main window, you have buttons to change views and a search field in the upper right hand corner. In the front and center is the list view table. When the databases have been filled and the administrator clicks the "Generate" button, there will actually be scheduled items to look at.For now, the table is empty because no information has been stored in the databases.
"Good" and "bad" schedules are defined as follows. Based on the databases and the instructor preferences, the scheduler will attempt to satisfy the instructor preferences equally
while not breaking any constraints. A good schedule is a schedule that uses up all the database entries while simultaneously fulfilling Instructor WTU requirements. Also, a good schedule will
rotate through the instructor database and give every instructor the opportunity for one of their time/course preferences.
A bad schedule is one that doesn't use up all the database items
or that favors certain professors over others in terms of how many preferences the scheduler was able to grant them.
Within the table are multiple columns. Here they are described from left to right:
Any one of the columns can be used to sort the information in the table. Clicking on the column head once will sort the scheduled items by the column information in ascending (alphabetical) order. Clicking on the column head once more will reverse the sort. In this list view, only the most important values have columns in the table. The viewing and editing section explores how to view and edit all the values of a scheduled item.
The scenarios in this section depict a user viewing and making adjustments to the schedule that has been generated by the system.